Korean Cooking: How To Make A Pickled Garlic Side Dish
Last Updated on October 17, 2023
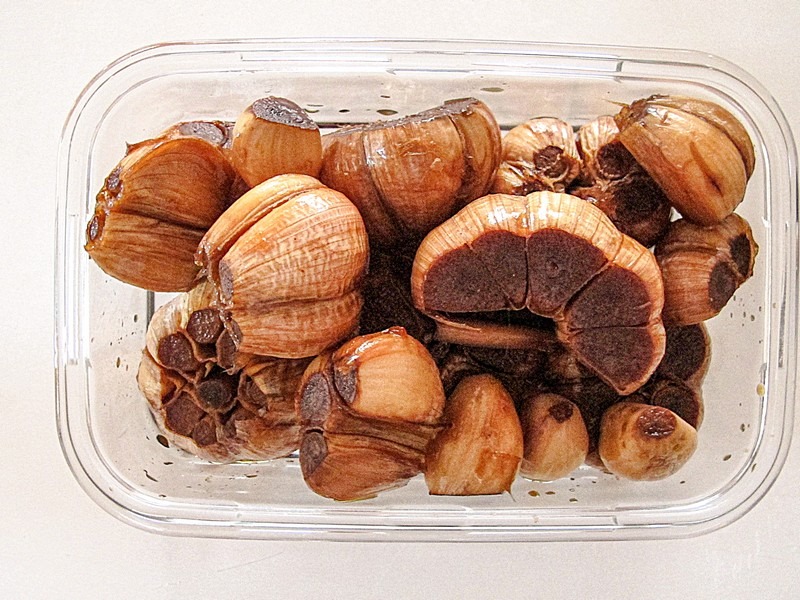
When you eat out in Korea there is never a shortage of side dishes. Well, some dreadful monsoon rainy summers there have been shortages on kimchi, but that aside, eating out provides an opportunity to try oh so many Korean side dishes, or banchan, and one that quickly became a favorite for me was pickled garlic (마늘장아찌). Not having learned the art of pickling or fermenting prior to coming to Korea, when I decided to delve into making my own banchan, I decided pickled ginger was going to be one of the first side dishes I’d make.
With the help of my Korean mother-in-law, her recipe in fact, I’ve now become so adept at making this one that even my Korean father-in-law can’t tell the difference between hers and mine. Learning how to make your own banchan? Try this one! It’s easier than you think.
(This post contains affiliate links, which means I receive a certain percentage of a sale if you purchase after clicking at no cost to you. Thank you for your support.)
What to eat pickled garlic with
I get this question a lot when it comes to side dishes and what I make for our home. I think if you don’t grow up eating certain things, it’s easy to overthink it. Pickled garlic goes with anything and everything if you ask me. It’s a perfectly delicious palette cleanser between bites. On top of that, it doesn’t just go with Korean food. My uncle made this recipe in the States and thinks it goes really well with steak, potatoes, and on salads too. Don’t be afraid to experiment.
Health benefits of pickled garlic
Garlic is so good for you. Pickled garlic is an antioxidant, anti-inflammatory, and has properties to strengthen the immune system and prevent illnesses. It’s also known to lower blood pressure.
My Korean Mother-In-Law’s Recipe
Ingredients
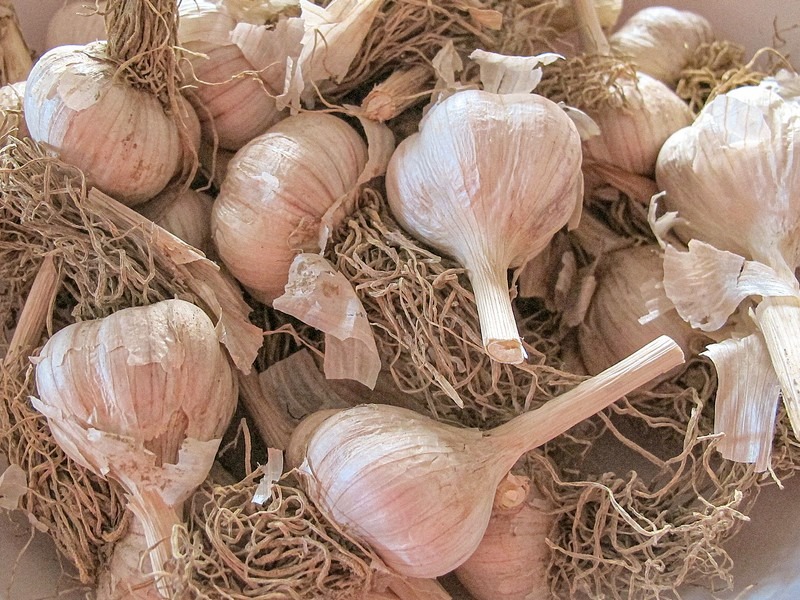
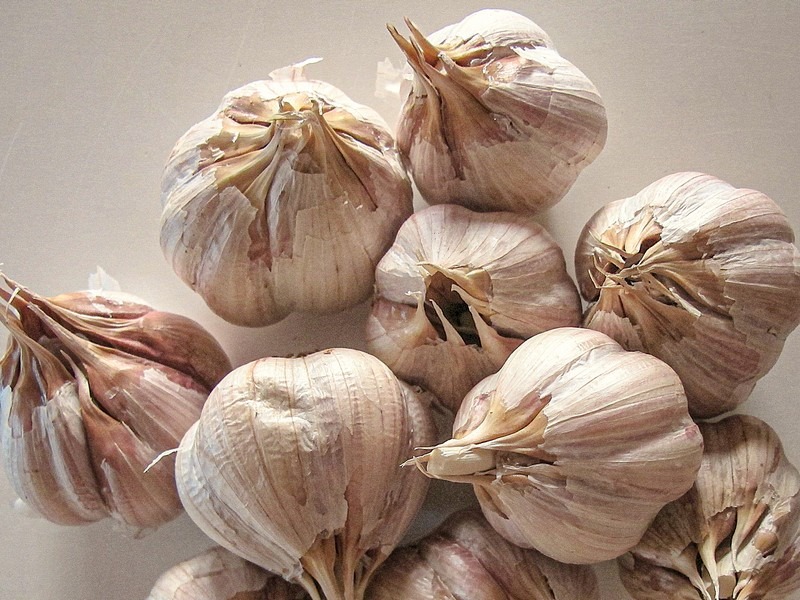
- 4 Whole Bulbs of Garlic
- Equal ratios of Water, Soy Sauce, and Plum Extract, enough to cover the garlic completely
- Half as much Vinegar
Directions
1 Cut off the roots and stalks of the garlic, peel two layers of the skin off, wash and drain garlic in a strainer for two hours.

2 Put the garlic in the jar and use equal ratios of the water, soy sauce and plum extract to cover the garlic and then add the vinegar. (For ours we used just over 1/3 cup of water, soy sauce and plum extract and then put in a half of a 1/3 cup of vinegar.)
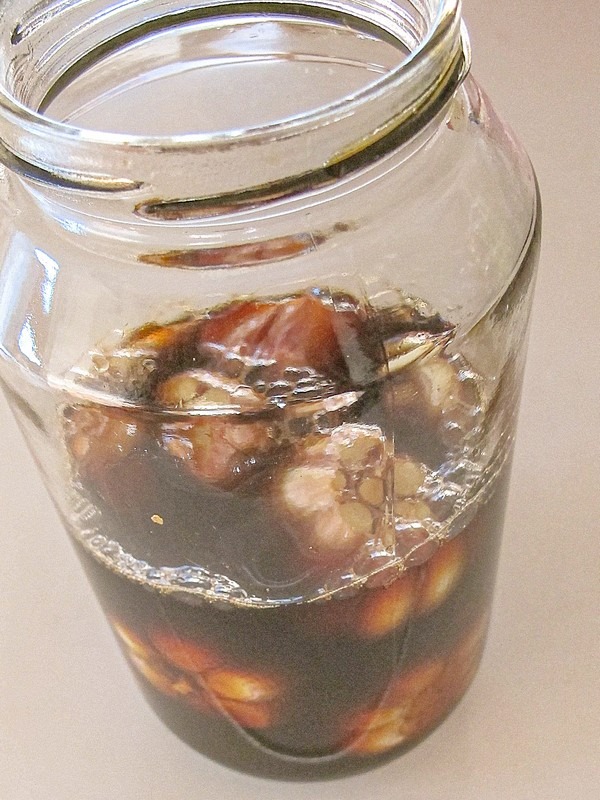
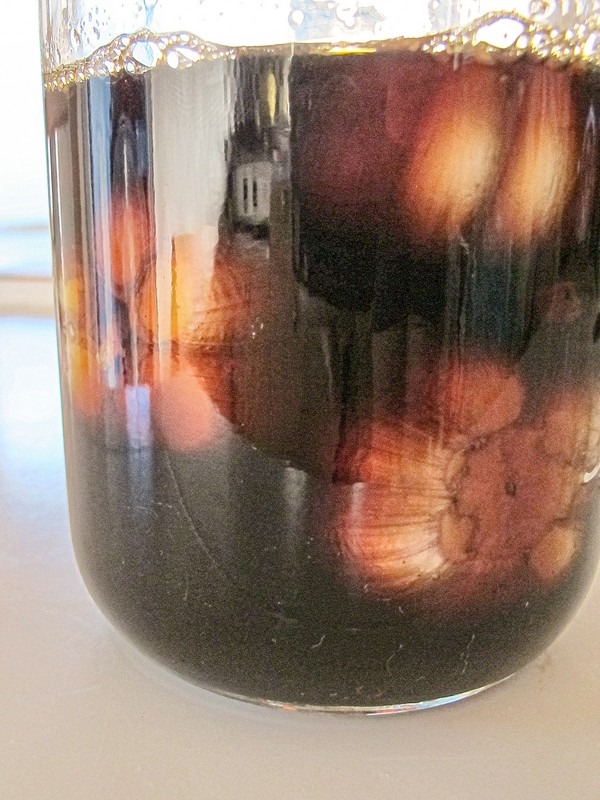
3 Filter out the liquid into a pot and bring it to a boil for 1 minute and then turn it off and let it cool.
4 Once it has cooled, pour it back into the jar and put it in a cool, dark place to ferment for 3 days.
5 After three days has gone by, filter out the liquid into a pot once again and bring to a boil for one minute and turn it off. After it has cooled pour it back into the jar once again.
6 Let it ferment for at least 1 month and then enjoy.
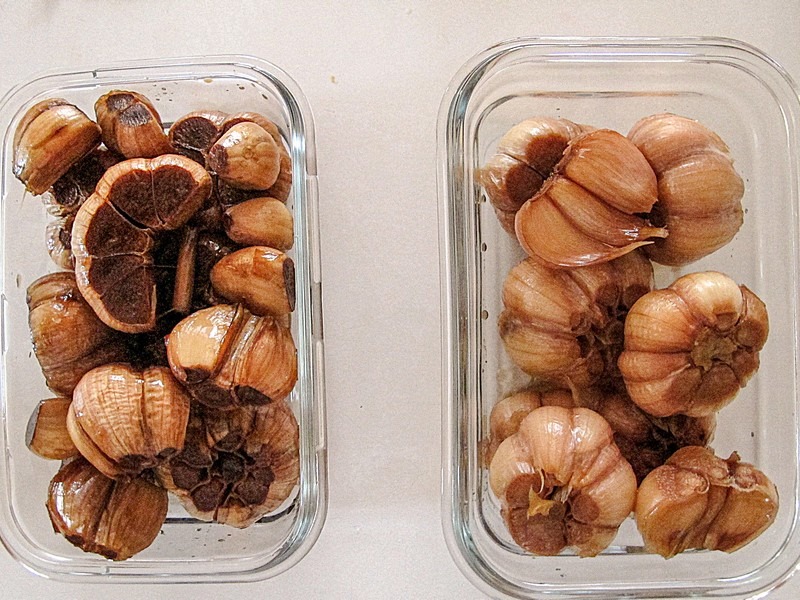
7 After opening the jar any uneaten garlic should be put in a container to be refrigerated and should be eaten as a side dish with meals.
After a month we took both of our jars out and gave them a try. The jar for our mom’s recipe garlic side dished gasped as we opened it, a good sign for the fermentation process I think. It tasted good, but my husband said it needed some more time in the cupboard to be as good as his mothers. The jar for the book recipe did not gasp when we opened it and still tasted mostly of garlic. My husband and I agreed we liked his mother’s recipe better and in the future will probably stick to that.
Did you like this post? Pin It!

2 Comments
Anne
Found your blog looking for info on green pumpkin, really enjoying your recipes! Thank you. 🙂
Hallie
Thanks for the comment. That green pumpkin recipe was a little accidental as I’m sure you read, but worked out well. I hope you have some good food on the table soon!